Set up a new account.
-
Image selection
After opening the application, we will press the image in the upper right part of the screen.
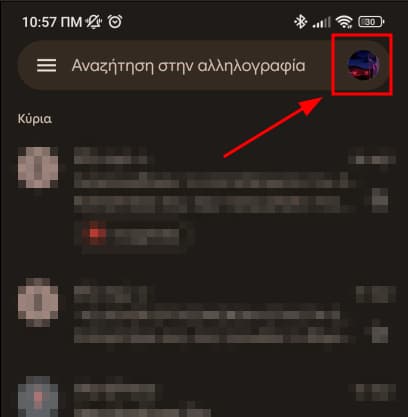
Image selection. -
Add another account
Then we will select "Add another account".
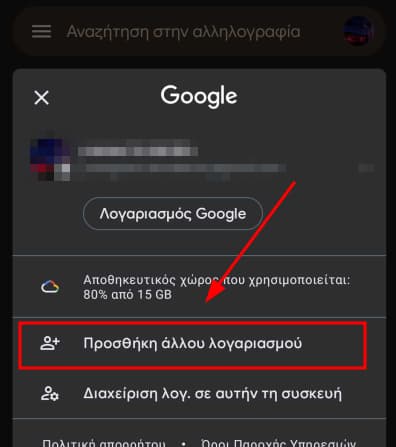
Option to add another account. -
Select Other
We see some options for setting up email on major providers. As our Mail Server is none of the options it shows us, we will select “Other”.
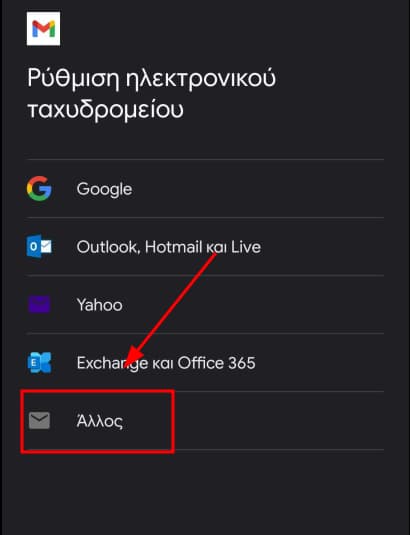
Select "Other". -
Add email address
Then a "Add your email address" field appears, where we will enter our email account. Indicatively, for the guide, I will add admin@domainmou.gr.

Enter email account. -
Protocol selection
At the same time, we will have to choose between IMAP and POP3 protocols. If we choose POP3, our incoming messages will be stored locally on our mobile. Alternatively, with the IMAP protocol, messages will remain on the server. For this guide, we will choose IMAP.
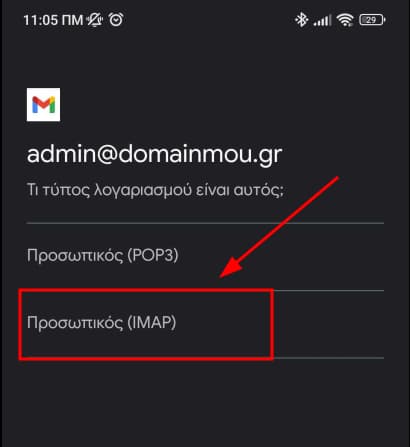
Select IMAP protocol. -
Password selection
In the next step, it tells us to add our email account password in the relevant field.
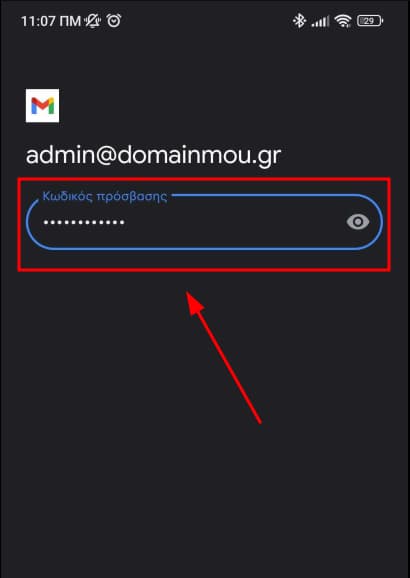
Enter the email code in the field. -
Select incoming mail server
After we proceed to the next step, it lists the inbox settings we have declared. In the server field, our Domain Name will be pre-populated. We can leave it as it is, as it is responding from our Mail Server IP.
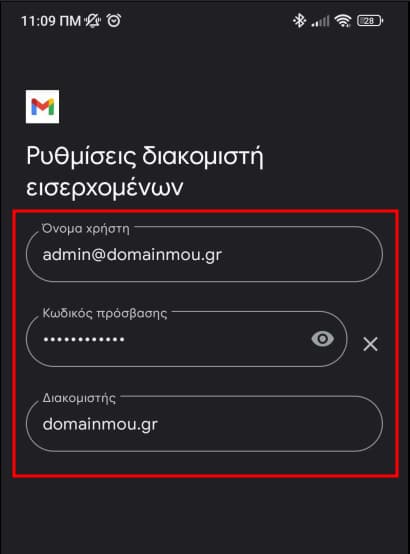
Inbox server settings. -
Select an outgoing mail server
In addition to incoming mail, it then lists the settings for the outgoing mail server. The settings are the same as the incoming one, as it is the same server. Therefore, we are not proceeding with any change
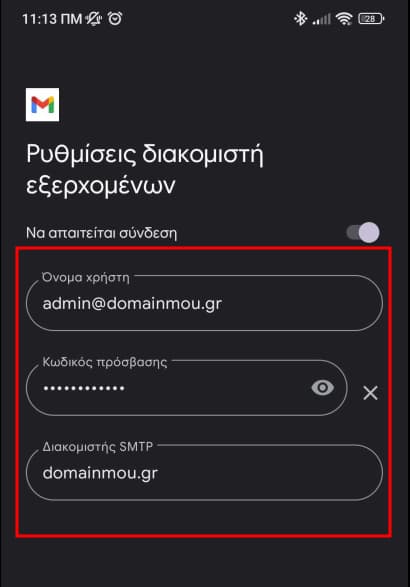
Outgoing server settings. -
Account Options
Finally, it lists the account options. We can fill in whenever we want to synchronize the messages. At the same time, we can configure the options below.
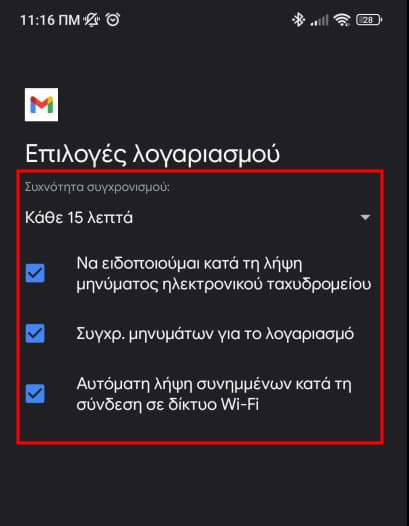
Account Options.
Email Account Entry Confirmation
-
Choose a name
If we have successfully completed the above steps, it informs us that our account is set up. At this stage, we can also specify if we want the name that will appear in the sent messages. For the relevant guide I have declared the name Admin.

Complete login and choose a name. -
Connection complete
Our email account is connected in normal context. At this moment, we can send and receive emails, from our account (e.g. admin@domainmou.gr), through the Gmail application .
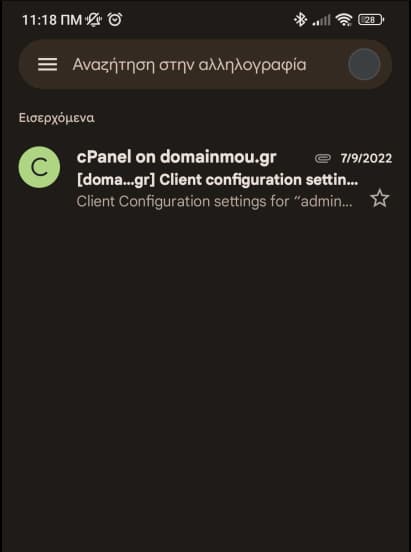
Email account inbox.